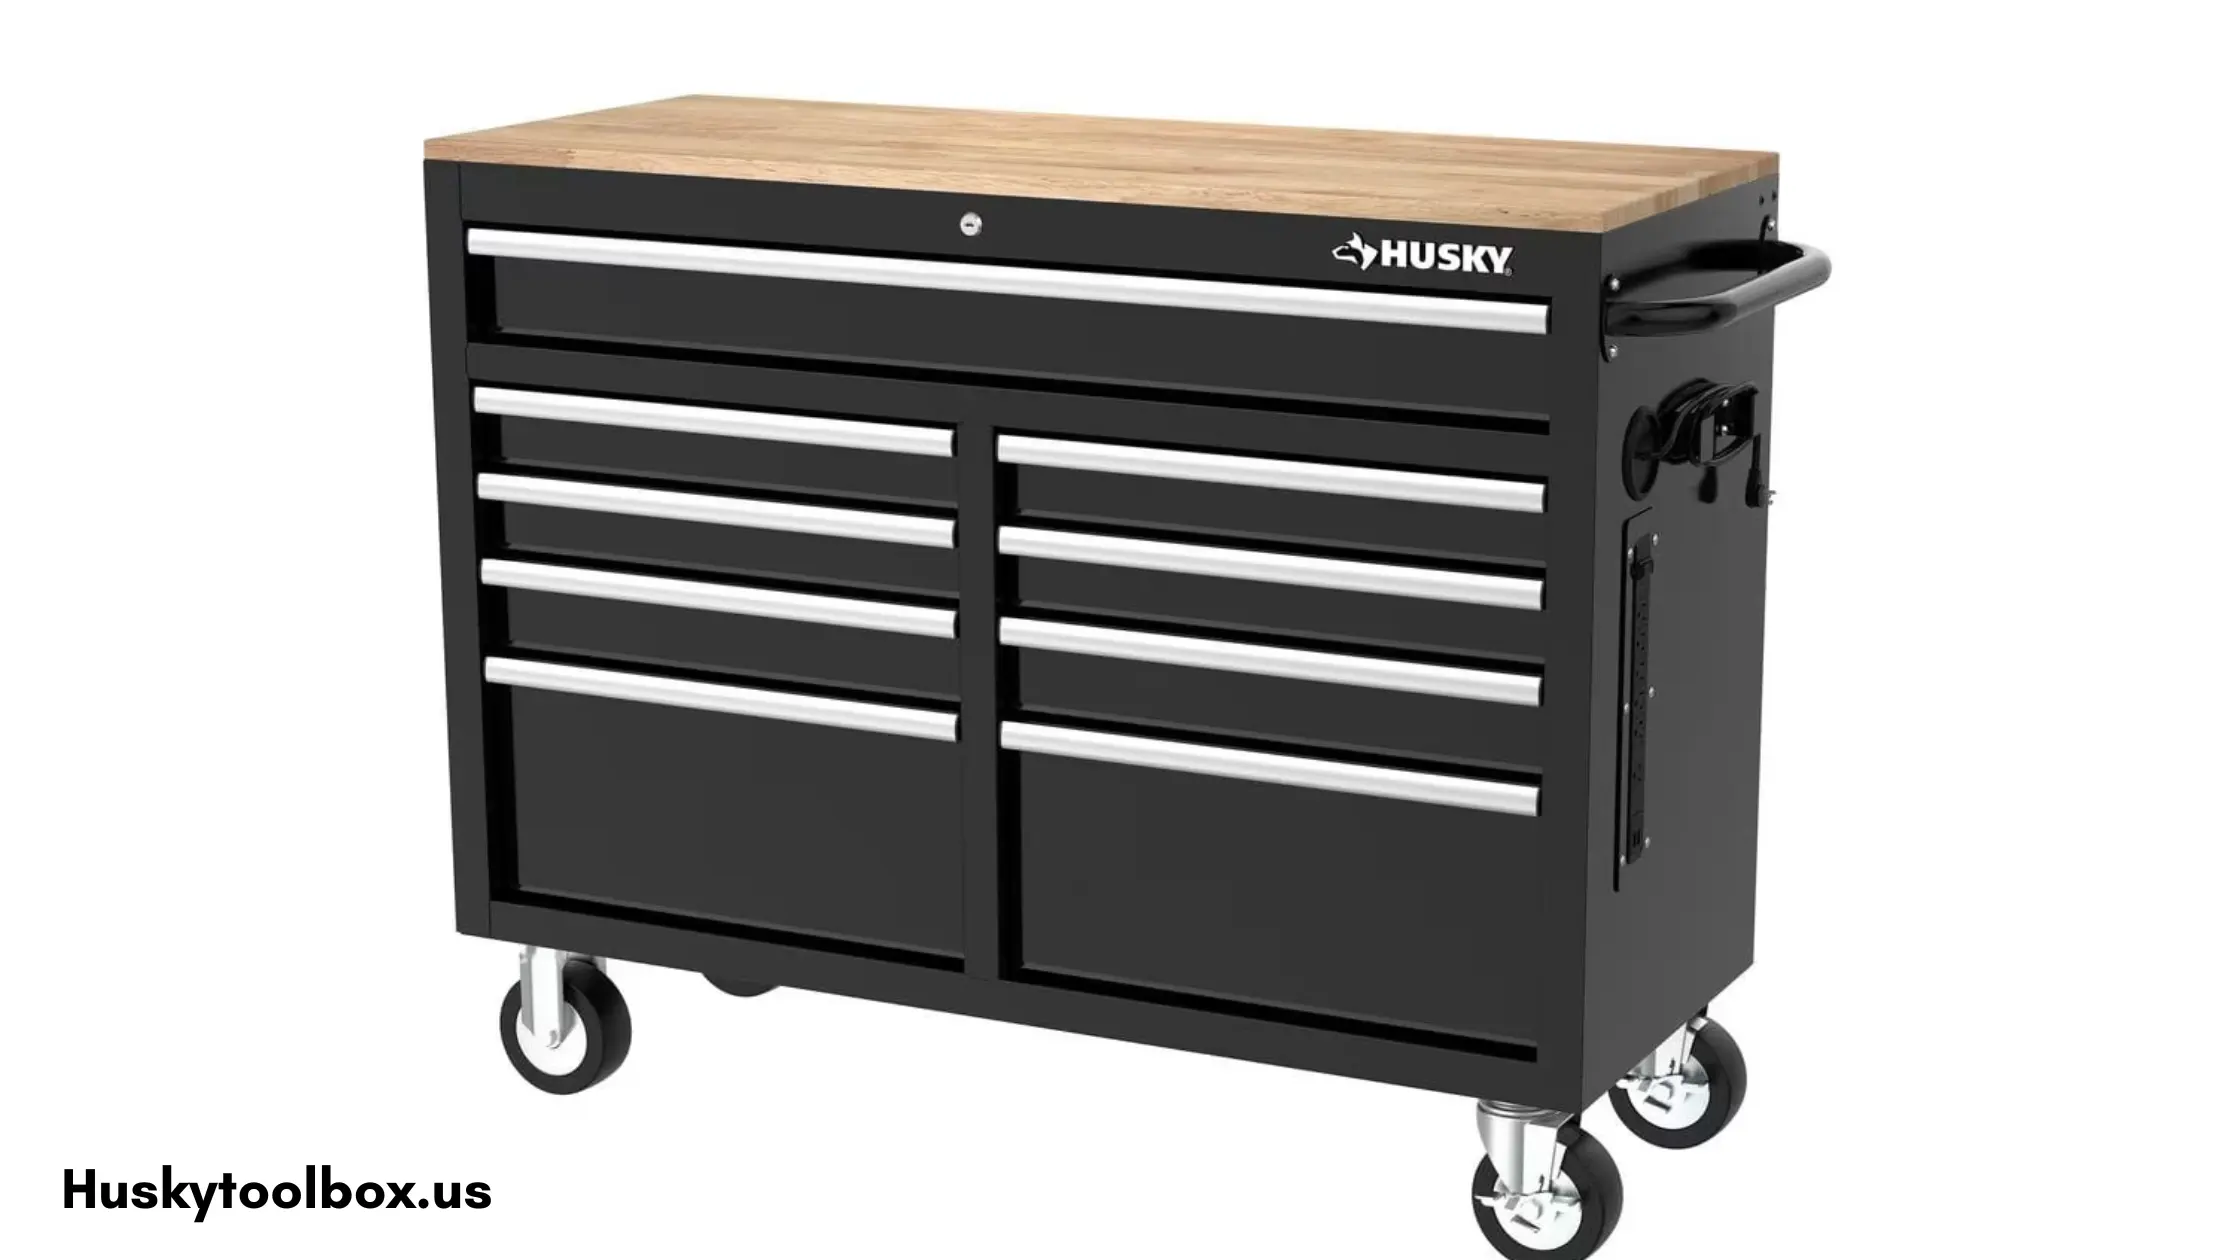
How to Put Wheels on a Husky Tool Box : In this guide, we’ll take you step-by-step through the process of installing wheels on your Husky tool box. Designed for do-it-yourselfers, mechanics, and homeowners in the USA, this article covers everything from selecting the right wheels to troubleshooting common issues. Without wheels, moving your Husky tool box around your garage or job site can feel like dragging a boulder. Whether you’re moving heavy tools, rearranging your workspace, or just want easier access, adding wheels to your Husky tool box is a game-changer.
Why Add Wheels to Your Husky Tool Box?
Before diving into the “how,” let’s explore why this upgrade is worth your time:
- Effortless Mobility: You can easily move your toolbox over asphalt, gravel, or rough ground.
- Ergonomic Benefits: Take it easy on your shoulders and back.
- Space Optimization: Move your tools closer to your work area to make room on the floor.
- Versatility: Great for sheds, workshops, and job sites.
How to Remove Husky Tool Box Drawers: Your Ultimate Guide for Easy Maintenance 2025
Tools and Materials You’ll Need
Gather these essentials before starting:
- 4 strong wheels that can be fixed or swivel, based on your needs.
- Use a power drill with drill bits made of metal.
- A measuring tape and a pen.
- Set of sockets or a wrench.
- Safety glasses and gloves.
- Threadlocker (to keep nuts in place) is optional.
Pro Tip: Pick wheels that can hold more weight than your tool box can hold. Pick wheels that can hold up to 250 pounds for a 200-pound tool box.

Step 1: Choose the Right Wheels
Not all casters are created equal. Here’s how to pick the best ones:
- Swivel vs. Fixed:
- Swivel casters (360° rotation) offer maximum maneuverability.
- Fixed casters (straight-line movement) provide stability for heavy loads.
- Material:
- Polyurethane: Quiet and floor-friendly.
- Rubber: Grippy but may wear faster.
- Metal: Durable for rough terrain.
- Brakes: Essential if you want to lock the tool box in place.
Top Picks:
- Husky Universal Caster Kit (25–50 at Home Depot).
- Shepherd Hardware 4” Swivel Casters (Amazon, 40–60).
Step 2: Prep Your Tool Box
- Take everything out of the tool box to make it lighter.
- Flip It Over: Carefully place the box on a soft surface upside down.
- Clean the Base: Wipe off any dirt or dust to make sure the fitting goes smoothly.
Step 3: Mark and Measure
- How to Measure the Corners: Two to three inches from each corner, mark where you want to drill.
- Check Alignment: To make sure the marks are even, use a straight edge.
- Check again: Make sure the casters won’t get in the way of the handles or drawers.
Step 4: Drill Pilot Holes
- Start Small: To make starter holes, use a 1/8″ drill bit.
- Gradually increase the size: change to a bit that fits your caster nuts, which are usually 3/8″ or 1/2″.
- Deburr Holes: Smooth out rough edges to keep them from catching.
Safety First: Wear goggles to protect against metal shavings.
Step 5: Attach the Casters
- Align the Caster: Position it over the pilot holes.
- Insert Bolts: Secure with washers and nuts.
- Tighten Gradually: Use a wrench to ensure even pressure.
- Apply Threadlocker: Prevent bolts from loosening over time.
Step 6: Test and Adjust
- Flip the Tool Box: Carefully return it to an upright position.
- Test Movement: Push the box to check for smooth rolling.
- Troubleshoot:
- Wobbly Wheels: Tighten bolts or add washers.
- Stiff Swivel: Lubricate caster joints with WD-40.
Conclusion:
When you add wheels to your Husky tool box, it changes from a stationary storage unit to a mobile workhorse. You now know how to pick out, install, and take care of casters so that you can easily get to your tools and have a flexible desk.
FAQs: Your Questions Answered
Q: Can I add wheels to any Husky tool box?
A: Most models can be modified, but check the base thickness (ideally 14+ gauge steel).
Q: Will drilling void my warranty?
A: Possibly. Contact Husky support for confirmation.
Q: How much weight can Husky caster wheels hold?
A: Standard kits support 200–300 lbs per caster.
Q: Can I use furniture casters?
A: No—opt for heavy-duty casters designed for tool boxes.

